Welcome to the WordPress Dashboard: Setting Up Basic Themes and Plugins! If you’re just starting out, this article is your friendly guide. Here, you’ll discover how to navigate the dashboard, choose the perfect theme, and install essential plugins. With a sprinkle of customization tips, you’ll make your site truly yours. Let’s dive in and make your WordPress experience fun and easy!

Understanding the WordPress Dashboard Layout
Navigating the User Interface
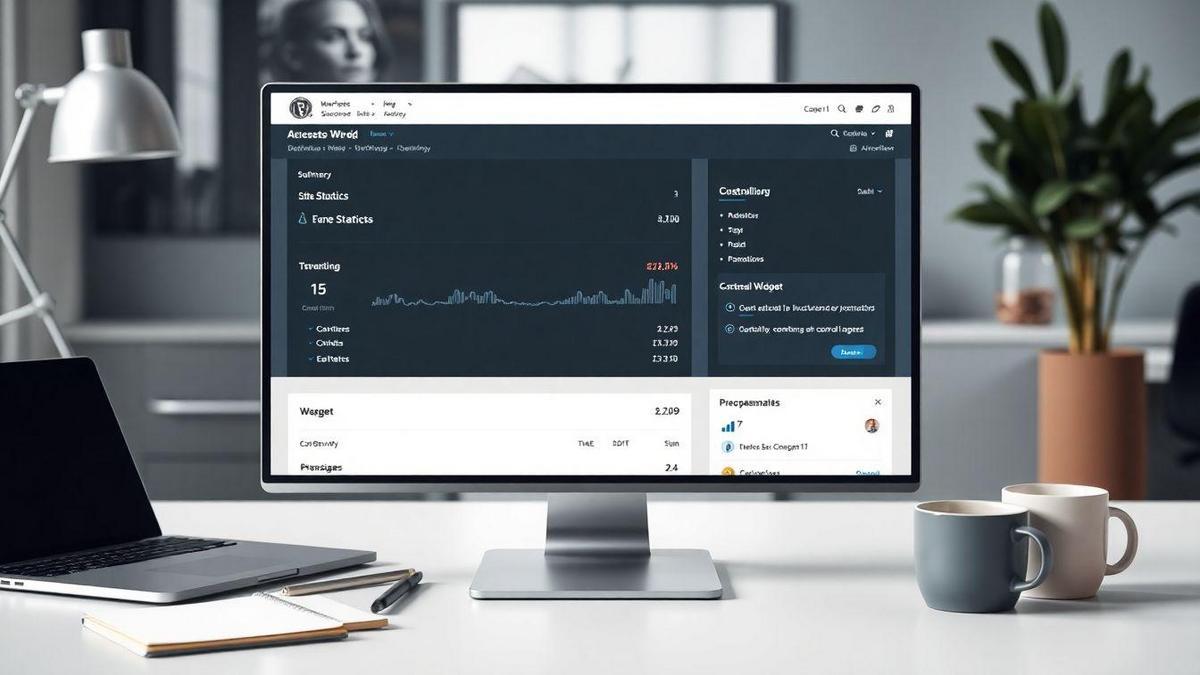
When you first log into your WordPress Dashboard, it might seem a bit overwhelming, but don’t worry! Think of it as your control center for your website. Here, you can manage everything from posts to settings. The layout is designed to be user-friendly, so you can dive right in.
The left-hand side has a menu with different sections. You can click on these to access various features. For example, if you want to write a new blog post, you’ll click on Posts. If you want to change how your site looks, you’ll go to Appearance. Just remember, the more you explore, the more comfortable you’ll become!
Key Sections of the Dashboard
Here’s a quick breakdown of the key sections you’ll find in your WordPress Dashboard:
| Section | Purpose |
|---|---|
| Posts | Create and manage your blog posts. |
| Media | Upload and manage images and files. |
| Pages | Create static pages like About or Contact. |
| Appearance | Change the look and feel of your site. |
| Plugins | Add extra features to your site. |
| Settings | Configure site settings like title and timezone. |
Each of these sections plays a vital role in how your website operates. So, take a moment to familiarize yourself with them!
Your First Steps in WordPress Dashboard
Now that you know the layout, let’s talk about your first steps. Once you’re in the Dashboard, you might want to start with the basics:
- Set Up Your Site Title: Go to Settings > General and fill in your site title. This is what visitors will see!
- Choose a Theme: Head over to Appearance > Themes. Pick a theme that suits your style. There are many options available.
- Install Essential Plugins: Go to Plugins > Add New. Look for plugins that can help you with SEO, security, or social media sharing.
Remember, the WordPress Dashboard: Setting Up Basic Themes and Plugins is all about making your site your own. Don’t rush it; take your time to explore and play around!
Choosing Basic Themes for Your Site
What Makes a Theme Responsive?
When you’re picking a theme for your site, responsiveness is key. A responsive theme means your site looks great on any device, whether it’s a smartphone, tablet, or desktop. Think of it like a rubber band—it stretches and adapts to fit. Here are some important features of a responsive theme:
- Fluid Grids: This means the layout changes depending on the screen size.
- Flexible Images: Images scale nicely so they don’t break the design.
- Media Queries: These are special codes that help change styles based on the device.
Responsive themes are like good friends—they adjust to your needs and make your life easier!
Popular Basic Themes to Consider
Now that you understand what makes a theme responsive, let’s look at some popular options. Here’s a handy table with a few themes you might like:
| Theme Name | Best For | Key Features |
|---|---|---|
| Astra | Speed | Lightweight and customizable |
| OceanWP | E-commerce | Great for online stores |
| GeneratePress | Simplicity | Fast and SEO-friendly |
| Neve | Versatility | Works well with page builders |
These themes are well-loved in the WordPress community. They’re like the Swiss Army knives of website design—versatile and handy!
Finding the Right Look for Your Site
Finding the right look for your site can feel like searching for a needle in a haystack. But don’t worry! Here are some tips to help you out:
- Identify Your Purpose: What’s your site about? A blog, a business, or something else?
- Consider Your Audience: Who will visit your site? Make sure the theme speaks to them.
- Look for Customization Options: You want a theme that lets you play around with colors, fonts, and layouts.
Remember, your site is a reflection of you. So, choose a theme that feels right!

Installing Plugins to Enhance Functionality
How to Search for Essential Plugins
When you’re diving into the WordPress Dashboard: Setting Up Basic Themes and Plugins, searching for the right plugins can feel like finding a needle in a haystack. But don’t worry! You can make this task a breeze. Start by heading over to the Plugins section on your dashboard.
Here’s how you can search effectively:
- Go to Plugins: Click on the “Add New” button.
- Use the Search Bar: Type in keywords related to what you need, like SEO, security, or performance.
- Filter Options: Use filters to narrow down your choices based on ratings or popularity.
Keep your eyes peeled for plugins with high ratings and plenty of active installations. This is usually a good sign that others have found them helpful!
Steps to Install Plugins Easily
Installing plugins doesn’t have to be a headache. Follow these simple steps to get your plugins up and running in no time:
- Find Your Plugin: Use the search feature as mentioned above.
- Click Install Now: Once you find a plugin you like, hit that button!
- Activate the Plugin: After installation, click the “Activate” button to start using it.
And just like that, you’ve added a new tool to your WordPress toolkit!
Must-Have Plugins for Every WordPress Setup
To make your website shine, here’s a handy table of must-have plugins that can really boost your site’s performance:
| Plugin Name | Purpose |
|---|---|
| Yoast SEO | Helps improve your site’s SEO |
| Wordfence Security | Protects your site from threats |
| WooCommerce | Turns your site into an online store |
| Elementor | Makes designing pages a breeze |
| UpdraftPlus | Backups your site automatically |
These plugins are like the Swiss Army knives of WordPress. They cover a range of needs, from security to design, making your life much easier.
Customizing Your Theme for a Unique Feel
Simple Theme Customization Tips
When you dive into customizing your theme, think of it as dressing your website up for a big event. You want it to shine and reflect your style! Here are some simple tips to get you started:
- Choose your colors wisely: Pick colors that match your brand. Use tools like Adobe Color to find great combinations.
- Select the right fonts: Fonts can change the mood of your site. Go for something easy to read but still stylish.
- Add your logo: Your logo is your brand’s face. Make sure it’s visible and represents you well.
Utilizing the WordPress Customizer
The WordPress Customizer is your best friend when it comes to making changes. It’s like having a magic wand for your site! Here’s how to use it effectively:
- Access the Customizer: Go to your WordPress Dashboard, then click on “Appearance” and select “Customize.”
- Preview changes live: As you make adjustments, you’ll see them right away. This helps you decide what looks best.
- Save your settings: Don’t forget to hit Publish after making your changes, so they go live!
| Feature | Description |
|---|---|
| Colors | Change the color scheme of your site |
| Fonts | Select different fonts for headings and text |
| Layout | Adjust the layout of your pages |
| Widgets | Add or remove widgets to enhance functionality |
Making Your Site Stand Out with Customization
Now that you’re familiar with the basics, let’s talk about making your site truly shine. Here are some ideas:
- Use images: Great visuals grab attention. Make sure they are high-quality and relevant to your content.
- Add custom widgets: Widgets can add functionality, like recent posts or social media feeds. They keep visitors engaged.
- Experiment with layouts: Don’t be afraid to try different layouts. Sometimes a simple change can make a big difference!

Managing Your Plugins Effectively
Updating Plugins for Security
Keeping your plugins updated is like locking your doors at night. It’s a simple step that helps keep your site safe. When developers release updates, they often fix bugs and security holes. So, make it a habit to check for updates regularly.
Here’s how you can do it:
- Go to your WordPress Dashboard.
- Click on Plugins.
- Look for any plugins that show an update available.
- Click Update Now.
By doing this, you protect your site from hackers. Just like you wouldn’t leave your house unlocked, don’t leave your site vulnerable!
Deactivating and Deleting Unused Plugins
Have you ever noticed how cluttered your workspace can get? The same goes for your WordPress site! If you have plugins that you don’t use, it’s time to clean house. Deactivating and deleting unused plugins can make your site faster and more secure.
Here’s how to do it:
- Go to your WordPress Dashboard.
- Click on Plugins.
- Find the plugin you don’t need.
- Click Deactivate.
- Once deactivated, click Delete.
This helps keep your dashboard neat and tidy. Plus, fewer plugins mean less chance of conflicts or slowdowns.
Keeping Your WordPress Dashboard Clean
A clean dashboard is like a clear desk—it helps you focus. You want to see what’s important without distractions. Keeping your dashboard clean involves removing unused plugins and organizing what you do use.
Here are some tips:
- Regularly review your plugins: Set a schedule to check every month.
- Only keep essential plugins: If you’re not using a plugin, get rid of it!
- Organize by categories: Group similar plugins together for easy access.
By maintaining a tidy dashboard, you can work more efficiently. It’s all about making your life easier!
Adjusting WordPress Settings for Optimal Performance
Key Settings You Should Know
When you dive into your WordPress Dashboard, there are some settings that can make a big difference. Here’s a quick rundown of the key settings you should pay attention to:
- Permalinks: This affects how your URLs look. A clean URL is easier for users and search engines.
- Reading Settings: Decide if you want your homepage to show a static page or your latest posts. This can help visitors find what they’re looking for faster.
- Discussion Settings: Control how comments work on your site. You can choose to moderate comments or allow them freely.
Here’s a simple table to visualize some of these settings:
| Setting | Description |
|---|---|
| Permalinks | Customize your URL structure |
| Reading | Choose between static or dynamic homepage |
| Discussion | Manage how comments are posted and moderated |
Enhancing Site Speed through Settings
Speed is crucial for your site. A slow site can drive visitors away faster than you can say load time. Here are some settings to tweak for better speed:
- Image Optimization: Make sure your images are compressed. Large images can slow down your site.
- Caching: Use caching plugins to store a version of your site. This helps load pages faster for repeat visitors.
- Disable Unused Plugins: If you’re not using a plugin, deactivate it. Too many active plugins can slow down your site.
Fine-Tuning Your WordPress Dashboard for Success
Your WordPress Dashboard is your command center. Keeping it organized can help you work more efficiently. Here are some tips to fine-tune it:
- Organize Your Menu: Drag and drop items in the menu for easy access. Put the tools you use most at the top.
- Use Widgets Wisely: Widgets can add functionality, but too many can clutter your dashboard. Choose only what you need.
- Regular Updates: Keep your themes and plugins updated. This not only improves performance but also enhances security.
By focusing on these settings, you’ll create a smoother experience for both you and your visitors.
Frequently Asked Questions
What is the WordPress Dashboard?
The WordPress Dashboard is your control center. You can manage your website from here. It’s where you set up themes and plugins.
How do I add a theme in the WordPress Dashboard?
To add a theme, go to Appearance > Themes. Click “Add New.” Browse or search for a theme you like, then click “Install” and “Activate.”
What are plugins, and why do I need them?
Plugins are like apps for your WordPress site. They add extra features. You need them to enhance your site, improve performance, and boost security.
How do I install a plugin in the WordPress Dashboard?
Head to Plugins > Add New. Search for the plugin you want. Click “Install Now” and then “Activate” to start using it.
Can I customize my theme after activation?
Yes! After activating a theme, go to Appearance > Customize. You can change colors, fonts, and layouts there to fit your style.

Marina is a passionate web designer who loves creating fluid and beautiful digital experiences. She works with WordPress, Elementor, and Webflow to create fast, functional, and visually stunning websites. At ReviewWebmaster.com, she writes about tools, design trends, and practical tutorials for creators of all levels.
Types of articles she writes:
“WordPress vs. Webflow: Which is Best for Your Project?”
“How to Create a Visually Stunning Website Without Hope”
“Top Landing Page Design Trends for 2025”
Why it works:
She brings a creative, accessible, and beginner-friendly perspective to the blog, perfectly complementing Lucas’s more technical and data-driven approach.
