Want to know how to create a site without programming using Webflow? You’re in the right place! In this article, we’ll walk you through everything you need to know about Webflow, a no-code web design tool that lets you build amazing websites without needing coding skills. From setting up your account to designing your site and even launching it, we’ve got you covered. So grab a cup of coffee and get ready to dive into the world of Webflow!
Understanding Webflow: A No-Code Solution
What is Webflow?
Webflow is a no-code platform that lets you build websites without writing a single line of code. Imagine having a powerful tool that allows you to design, develop, and launch your site all in one place. Whether you’re a beginner or someone with a bit more experience, Webflow makes it easy to create a site that looks professional and works well.
Key Features of Webflow
Webflow comes packed with features that make website creation a breeze. Here are some standout features:
| Feature | Description |
|---|---|
| Visual Editor | Drag-and-drop tools let you design your site visually, just like using a graphics editor. |
| Responsive Design | Automatically optimizes your site for mobile, tablet, and desktop views. |
| CMS Functionality | Easily manage and update your content without needing to dive into code. |
| E-commerce | Build online stores with ease, managing products and payments directly through Webflow. |
| Hosting | Fast and secure hosting is included, so you don’t have to worry about setup. |
Why Choose Webflow for Your Website
Choosing Webflow can be a game-changer for your website. Here’s why:
- User-Friendly: You don’t need to be a tech wizard. The intuitive design tools let you create stunning sites without any programming skills.
- Customizable: You can tweak every aspect of your site to match your vision, allowing your site to truly reflect your brand.
- SEO-Friendly: Webflow helps you optimize your site for search engines, making it easier for people to find you online.
- Community Support: With a large community and plenty of tutorials, you’ll never feel alone on your website-building journey.
In essence, if you’re looking to build a site without programming using Webflow, you’re in for a treat. This platform is designed for creativity and ease, making it perfect for anyone ready to dive into the world of website creation.
Getting Started with Webflow
Setting Up Your Account
Ready to dive into Webflow? First things first, you need to set up your account. Just head over to the Webflow website and click on that shiny Get Started button. You can sign up using your email or even your Google account. It’s quick and easy! After you fill in your details, check your email for a confirmation link. Click that, and voilà—you’re in!
Navigating the Webflow Dashboard
Now that your account is set, let’s take a stroll through the Webflow dashboard. When you log in, you’ll see a clean interface. Here’s a quick breakdown of what you’ll find:
| Dashboard Section | Purpose |
|---|---|
| Projects | Where all your websites live |
| Templates | Pre-made designs you can customize |
| Account Settings | Manage your profile and billing info |
| Help Center | Resources and guides to assist you |
Each section is designed to be user-friendly, so don’t worry if you’re not tech-savvy. You’ll quickly get the hang of it!
First Steps in Webflow Site Creation
Let’s get your hands dirty! The first step in creating your site is to click on New Project. You can choose a blank canvas or select a template to start with. If you pick a template, remember that you can change anything—colors, fonts, layouts. It’s all about making it your own!
Once you’re in the editor, you’ll find tools on the left side. Here’s what you can do:
- Add Elements: Drag and drop things like text boxes, images, and buttons onto your page.
- Style Your Site: Click on any element to change its look—adjust colors, sizes, and fonts.
- Preview Your Work: Hit the eye icon to see how your site looks live!
Creating a website without coding is as easy as pie with Webflow. Just follow these steps, and you’ll be well on your way to building something fantastic!
Designing Your Site with Webflow
Using the Drag and Drop Builder
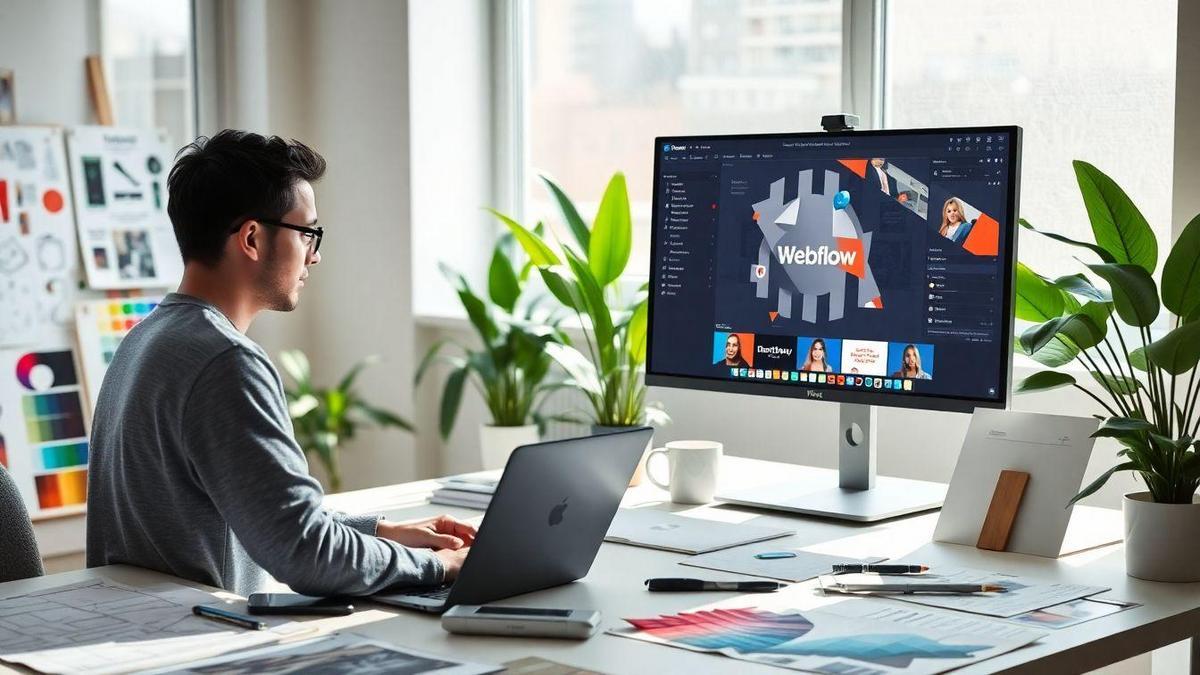
Creating your website with Webflow is as easy as pie, thanks to its drag and drop builder. You don’t need to be a tech wizard to get started. Just grab elements like text boxes, images, and buttons, and drop them where you want them on your page. It’s like playing with digital building blocks!
Imagine you want to add a photo gallery. Simply drag the gallery element into your layout, and voila! You can customize it right there. No coding, no headaches. You’re in control of your design, making it as simple or as fancy as you like.
Customizing Templates for Your Needs
Webflow offers a bunch of templates to kickstart your design journey. Think of these templates as your canvas. You can choose one that fits your vision and then make it your own.
Here’s how to customize those templates:
- Pick a Template: Browse through Webflow’s library and choose one that speaks to you.
- Edit Content: Change the text and images to reflect your brand.
- Adjust Colors: Use your brand colors to make it pop.
- Add New Elements: If you need more features, just drag and drop them in!
This way, you can create a site that feels personal to you. It’s like wearing a suit tailored just for you!
Tips for Effective Visual Website Design
When designing your site, keep these tips in mind for a great visual appeal:
- Stick to a Color Palette: Use 2-3 main colors to keep things cohesive.
- Choose Readable Fonts: Make sure your text is easy to read. No one likes squinting!
- Use High-Quality Images: Clear images make your site look professional.
- Keep It Simple: Don’t overcrowd your pages. White space can be your best friend.
| Tip | Why It Matters |
|---|---|
| Stick to a Color Palette | Creates a unified look |
| Choose Readable Fonts | Enhances user experience |
| Use High-Quality Images | Builds trust and professionalism |
| Keep It Simple | Makes navigation easier for visitors |
Creating a Responsive Website
What is Responsive Web Design?
Responsive web design is all about making your website look great on any device. Whether someone is using a phone, tablet, or desktop, your site should adjust to fit their screen. This way, you provide a smooth experience for everyone. Imagine trying to read a book with tiny text or a page that doesn’t fit your screen—frustrating, right? That’s why responsive design is key. It’s like having a magic wand that makes everything fit perfectly, no matter what you’re using.
How Webflow Handles Responsiveness
Webflow is a fantastic tool that helps you create a site without programming. It makes responsive design a breeze! With Webflow, you can:
- Preview how your site looks on different devices.
- Adjust elements easily for different screen sizes.
- Use flexible grids that adapt to any screen.
This means you can focus on your design while Webflow takes care of the technical stuff. You can create a beautiful site that looks amazing everywhere.
Ensuring Your Site Looks Great on All Devices
To make sure your site shines on every device, here are some tips:
| Device Type | Key Focus | Example |
|---|---|---|
| Mobile | Simplicity | Large buttons, readable text |
| Tablet | Balance | Split content, images resize |
| Desktop | Detail | More content, sidebars |
- Mobile: Keep it simple. Use larger buttons and readable text. No one wants to squint!
- Tablet: Find a balance. Content can be split, and images should resize nicely.
- Desktop: Add more detail. You have space, so use sidebars and additional content wisely.
By following these tips, you can create a site that looks fantastic no matter where it’s viewed.
Building a Landing Page in Webflow
Importance of a Good Landing Page
A good landing page is like a warm welcome mat for your visitors. It’s the first thing they see, and it sets the tone for their entire experience. If it’s attractive and easy to navigate, it can grab their attention and keep them interested. Think of it as your digital storefront. You want people to step inside, explore, and ultimately make a purchase or sign up.
Did you know that a well-designed landing page can boost your conversion rates significantly? Just a few tweaks can turn a casual visitor into a loyal customer. So, investing time in crafting a solid landing page is crucial.
Steps to Create a Landing Page with Webflow
Creating a landing page with Webflow is like piecing together a puzzle. Here’s a simple roadmap to get you started:
- Sign Up for Webflow: If you don’t have an account, create one. It’s free to start!
- Choose a Template: Webflow offers many templates. Pick one that fits your style.
- Customize Your Design: Use Webflow’s drag-and-drop feature to adjust elements. Change colors, fonts, and images to match your brand.
- Add Content: Write catchy headlines and engaging text. Make sure your message is clear.
- Set Up Forms: If you want visitors to sign up, add a form. Keep it simple—ask only for essential info.
- Preview and Publish: Check how your page looks on different devices, then hit publish when you’re ready!
Here’s a quick table summarizing the steps:
| Step | Description |
|---|---|
| Sign Up | Create a Webflow account |
| Choose a Template | Select a design that suits your needs |
| Customize Your Design | Adjust colors, fonts, and images |
| Add Content | Write clear and engaging text |
| Set Up Forms | Include a simple sign-up form |
| Preview and Publish | Review and publish your landing page |
Best Practices for Landing Page Design
To make your landing page shine, follow these best practices:
- Keep It Simple: Don’t overload your page with information. Focus on one main message.
- Use Clear CTAs: Your call-to-action buttons should stand out. Use phrases like Get Started or Join Now.
- Optimize for Mobile: Many users will visit from their phones. Make sure your page looks great on smaller screens.
- Use High-Quality Images: Visuals are powerful. Choose images that relate to your content and appeal to your audience.
- Test and Iterate: After your page is live, keep an eye on its performance. Make changes based on what you learn.
By following these tips, you’ll create a landing page that not only attracts visitors but also encourages them to take action.
Integrating Webflow with Other Tools
Connecting Webflow to Your Domain
Getting your site live is a big step! When you’re ready to connect Webflow to your domain, it’s pretty straightforward. You’ll want to start by going into your Webflow project settings. Here’s a quick guide:
- Go to Project Settings: Open your project in Webflow and click on “Settings.”
- Select Hosting: Click on the “Hosting” tab.
- Add Your Custom Domain: Enter your domain name (like www.yoursite.com) and click “Add.”
- Update DNS Settings: You’ll need to head to your domain registrar (like GoDaddy or Namecheap) and update the DNS settings to point to Webflow. This usually means changing the A records and CNAME.
Here’s a simple table to help you understand the DNS settings you might need:
| Record Type | Host | Value |
|---|---|---|
| A Record | @ | 75.2.70.75 |
| CNAME Record | www | proxy-ssl.webflow.com |
After you’ve done this, it might take a bit for the changes to kick in. But once they do, your site will be live!
Using Webflow with Marketing Tools
Webflow doesn’t just stop at website creation; it plays nicely with various marketing tools. This means you can easily connect to platforms like Mailchimp, Google Analytics, or even social media channels.
For example, if you want to set up an email list using Mailchimp, you can integrate it right into your Webflow site. Just follow these steps:
- Create a Mailchimp Account: If you don’t have one, sign up for Mailchimp.
- Get Your API Key: In Mailchimp, navigate to “Account” > “Extras” > “API keys” and create a new key.
- Connect in Webflow: Go back to Webflow, go to your project settings, and find the “Integrations” tab. Paste your API key there.
Enhancing Your Site’s Functionality
Now that you’ve linked Webflow with your domain and marketing tools, let’s talk about how you can enhance your site’s functionality. Here are some ideas to get you started:
- Forms: Create forms for feedback or contact. Webflow makes it easy to set these up.
- E-commerce: If you’re selling products, you can set up a store directly within Webflow.
- CMS: Use the Webflow CMS to manage your content easily.
By integrating these features, you’re not just building a site; you’re crafting an experience for your visitors.

Tips for Beginners Using Webflow
Common Mistakes to Avoid
When you’re just starting with Webflow, it’s easy to trip over a few common pitfalls. Here are some mistakes you should steer clear of:
- Ignoring the Basics: Jumping in without understanding the core features can lead to confusion. Take time to learn the basics first.
- Overcomplicating Designs: Keep it simple! A clean, straightforward design often works best.
- Neglecting Mobile Responsiveness: Always check how your site looks on mobile. Many users will visit your site from their phones.
- Skipping Testing: Before you launch, make sure to test everything. Click on links, fill out forms, and check for typos.
Resources for Learning Webflow
To get the hang of Webflow, you’ll need some solid resources. Here’s a list of great places to start:
| Resource Type | Name/Link |
|---|---|
| Official Tutorials | Webflow University |
| YouTube Channels | Flux Academy |
| Community Forums | Webflow Forum |
| Online Courses | Udemy Webflow Courses |
These resources can help you learn the ins and outs of Webflow quickly.
Building Your Skills in No Code Web Design
As you dive into the world of no-code web design, here are some tips to build your skills:
- Practice Regularly: The more you use Webflow, the better you’ll get. Create sample projects to experiment with different features.
- Join a Community: Engage with other Webflow users. They can share tips and tricks that you might not find in tutorials.
- Follow Design Trends: Keep an eye on current web design trends. This can inspire your own designs and keep your skills fresh.
Launching Your Webflow Site
Final Checks Before Launch
Before you hit that launch button, take a moment to double-check everything. Here’s a quick checklist to help you out:
- Content Review: Read through all your text. Make sure there are no typos or awkward phrases.
- Links: Click on every link. Broken links can drive visitors away faster than a speeding bullet.
- Mobile Responsiveness: Check how your site looks on mobile devices. A lot of users will visit your site on their phones.
- Loading Speed: Use tools like Google PageSpeed Insights to see how fast your site loads. A slow site can frustrate visitors.
Promoting Your New Website
Now that your site is ready, it’s time to shout it from the rooftops! Here are some effective ways to promote your new site:
- Social Media: Share your site on platforms like Facebook, Instagram, and Twitter. Use eye-catching images and engaging captions to draw people in.
- Email Marketing: Send a friendly email to your contacts. Let them know about your new site and what they can find there.
- Networking: Talk about your site in relevant online communities. Forums, Facebook groups, or even local meet-ups can be great spots to share your work.
- SEO Basics: Use keywords related to your content. This will help your site show up in search results when people are looking for what you offer.
Measuring Success After Launch
Once your site is live and buzzing, it’s time to see how it’s doing. Here’s how you can measure your success:
| Metric | What to Look For |
|---|---|
| Traffic | How many visitors are coming to your site? |
| Bounce Rate | Are people leaving quickly, or sticking around? |
| Conversion Rate | Are visitors taking action, like signing up? |
| Engagement | Are people interacting with your content? |
By keeping an eye on these metrics, you can understand what’s working and what needs tweaking. It’s all about learning and growing!
Maintaining Your Webflow Site
Regular Updates and Backups
Keeping your Webflow site in tip-top shape is like tending to a garden. You need to water it, prune it, and sometimes even replant things to keep it thriving. Regular updates are essential. They help fix bugs and add new features. So, make it a habit to check for updates often.
Backups are your safety net. Imagine losing your hard work because of a glitch! To avoid that heartache, back up your site regularly. Webflow makes it easy. Just go to your project settings and hit the backup button. You’ll thank yourself later.
Analyzing Site Performance
You wouldn’t drive a car without checking the gas, right? The same goes for your website. Analyzing how your site performs is key to keeping it running smoothly. Use tools like Google Analytics to see how many visitors you have and how they interact with your site.
Here’s a quick table to help you understand what to look for:
| Metric | What It Tells You |
|---|---|
| Page Views | How many times a page has been viewed |
| Bounce Rate | Percentage of visitors who leave quickly |
| Average Session Duration | How long visitors stay on your site |
| Conversion Rate | Percentage of visitors taking action |
These numbers can help you spot trends and areas for improvement.
Keeping Your Content Fresh and Engaging
Think of your website as a book. If you never add new chapters, people will lose interest. To keep your audience engaged, regularly update your content. This could mean adding new blog posts, updating old articles, or even changing images.
Here are some quick tips to keep your content lively:
- Share Stories: Personal stories connect with readers.
- Use Visuals: Images and videos make your site pop.
- Ask Questions: Encourage comments to spark conversations.
Frequently Asked Questions
Can I really create a site without programming using Webflow?
Yes, absolutely! Webflow is designed for you to build without coding.
What features does Webflow offer for beginners?
Webflow has templates, drag-and-drop tools, and easy design options. It’s user-friendly!
How to create a site without programming using Webflow?
Just choose a template, customize it, and publish. It’s that simple!
Do I need to pay for Webflow to create a site?
Yes, but they offer a free plan. You can try before you buy!
Is it easy to update my site later on?
Yes! Webflow makes it easy to make changes whenever you want.

Marina is a passionate web designer who loves creating fluid and beautiful digital experiences. She works with WordPress, Elementor, and Webflow to create fast, functional, and visually stunning websites. At ReviewWebmaster.com, she writes about tools, design trends, and practical tutorials for creators of all levels.
Types of articles she writes:
“WordPress vs. Webflow: Which is Best for Your Project?”
“How to Create a Visually Stunning Website Without Hope”
“Top Landing Page Design Trends for 2025”
Why it works:
She brings a creative, accessible, and beginner-friendly perspective to the blog, perfectly complementing Lucas’s more technical and data-driven approach.
